Assign a Request
A request can be assigned to one or more people or groups depending on the department’s policies regarding how requests are processed.
Note: Assigning a request to a person or group is not the same as approving an electronic document and routing it forward in an administrative system such as *DEFINE.
A request is assigned in the following ways:
- From the Request Form page, click Continue.
- From the Request Form page, click the Assign tab.
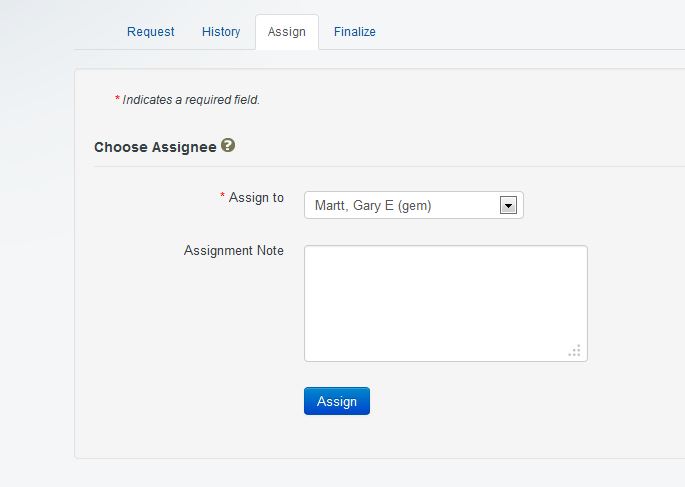
If a default assignee has been selected, the name and UT EID or group name of the assignee automatically appears in the Assign to field on the Request Form: Assign page.
-
Follow these steps to select a different assignee:
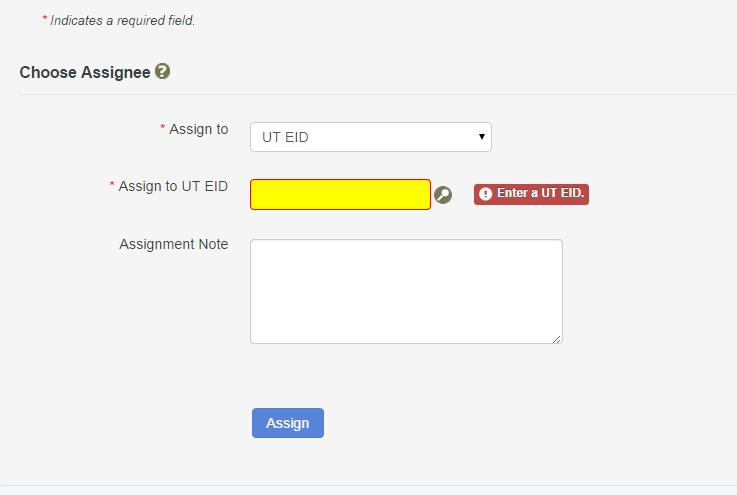
- Select UT EID or Group from the Assign to drop-down menu.
- Type or search for the UT EID of the assignee, or type the group number or search for the group name.
- To add the assignee to the user’s profile, select Add to Profile.
- To make the assignee the default, check Make Default.
- Any Assignment Notes entered will appear in the notification email sent to the assignee.
- Click Assign.
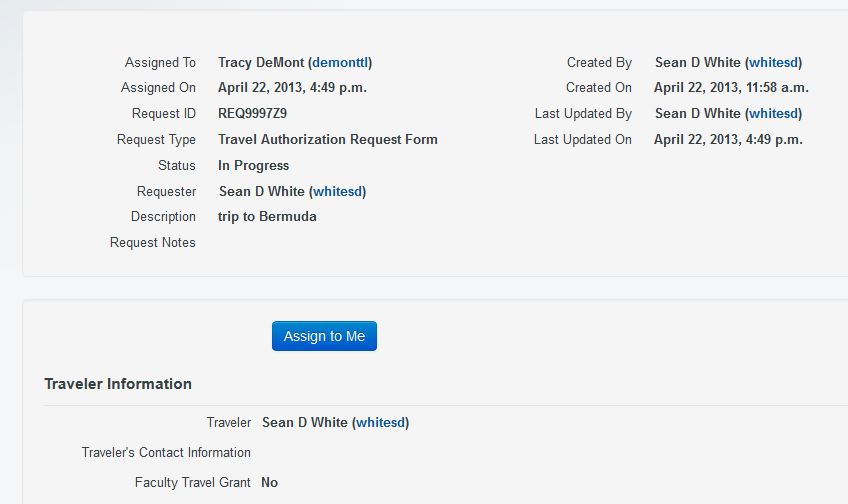
If the request has been assigned to a group, use the Assign to Me button to allow an individual administrator to take further action on the request such as updating, declining, or finalizing the request.
Note: There is no recall action for requests. If a user wishes to make changes to a request that has already been assigned to another person or group, the user must contact the assignee to request that it be assigned back to the user. However, departmental administrators, those with command authorization update or higher, do have the ability to assign forms to themselves.